Something I have recently been obsessed with is the process of making chocolate from scratch, and I want to discuss with you the diffident ways and how its done as I learn about it myself.
I have never made chocolate before, but while searching for different kinds of peppermint bark I thought to my self how awesome it would be to make your own chocolate for your peppermint bark. Can you imagine just how good that would be?
So, here we go.
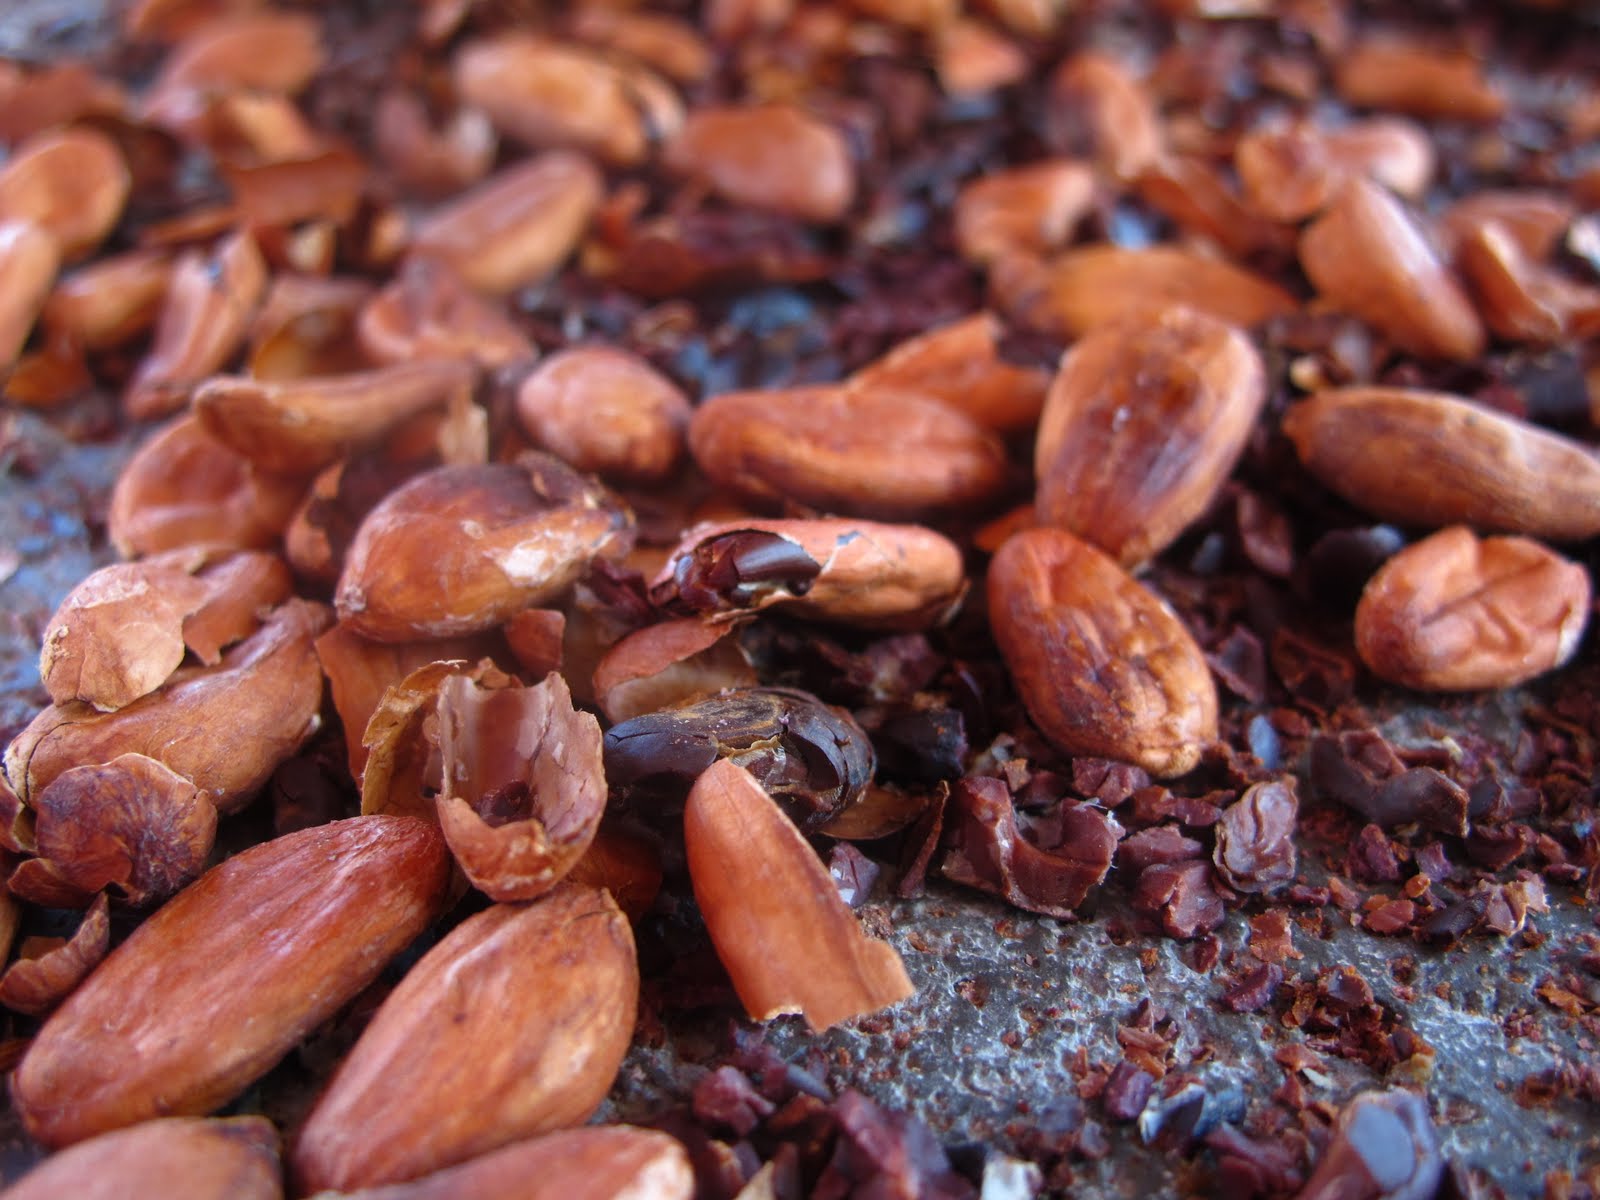
Step 1: Roasting

The first step in making chocolate is roasting the beans, this is critical for flavor development. There are two main approaches to roasting; roasting the beans for a short amount of time at high heat, which produces a strong chocolate flavor but eliminates any subtle floral notes and risks the development of charred flavors from over-roasting, or you can roast them for a long amount of time on low heat which allows the delicate flavors to come through but also sacrifices the "big" chocolate flavor.
Step 2: Winnowing

After the beans are roasted they go through a winnowing process which removes the outer husk or shells, leaving behind the roasted beans that are now called nibs.
Step 3: Milling

The nibs are then ground into a thick liquid called chocolate liquor, which is essentially cocoa solids suspended in cocoa butter.
Step 4: Pressing

The processing now goes in a couple of different directions. Some batches of chocolate liquor are pressed to extract the cocoa butter, which leaves a solid mass behind that is pulverized into cocoa powder. The remaining cocoa butter is reserved to help in chocolate making. Other batches of chocolate liquor are used directly to make chocolate.
Step 5: The beginnings of chocolate

To make dark chocolate, chocolate liquor, sugar and other minor ingredients such as vanilla are mixed together and kneaded until blended.
To make milk chocolate, milk and sugar are mixed together and the blended with chocolate liquor. This sweet combination is stirred until the flavors are thoroughly combined.
Step 6: Refining

After being mixed, both dark and milk chocolates go through the same process. The mixture travels through a series of heavy rollers, which press the ingredients until the mixture is refined to a dry flake. Additional cocoa butter and a small amount of emulsifying agent are added to the flake and then the mixed to a smooth paste ready for "conching"
Step 7: Conching

Conching further develops flavor by putting the chocolate through a kneading process. The conches have heavy rollers that plow back and forth through the chocolate mass anywhere from a few hours up to seven days.
Step 8: Tempering

The mixture is them tempered, or passed through a heating, cooling and reheating process. Tempering allows you to solidify chocolate in a way that keeps it glossy, causes it to break with a distinctive snap and allows it to melt in your mouth.
Step 9: Moulding

The mixture is then poured into moulds and cooled.

Once its cooled...dig in!!
Happy baking!
-Ashley